FSL Language Tutorial 0.1.0
FSL, or “Finite State Language,” is a notation for writing finite state machines concisely and clearly.
Quick Notation Tutorial
A complete piece of FSL code is referred to as a machine.
A FSL machine is made from states, transitions, sometimes actions or annotations, and occasionally
other things. A FSL machine must have at least one transition, and therefore at least one state. Otherwise,
the entire language is optional.
FSL is designed to make most things implicit in well defined and common sense ways. The most common example of
a state machine seems to be the traffic light, which has four states: the three basic colors Red, Yellow, and
Green, and a state to represent when the machine is physically powered down, which we’ll call Off.
States and Transitions: a->b;
In FSL, the most obvious way to write a traffic light is as its three colors, which are this machine’s states,
and the changes they can undergo (eg from Green to Yellow,) which are this machine’s transitions, in
their correct order:
Green -> Yellow;
Yellow -> Red;
Red -> Green;
Fundamentally, this tells the machine that there exist three states, called Green, Yellow, and Red,
and that each one is only allowed to go to one other - that is, if an instance of a machine is in Green, it
may only transition to Yellow, never to Red, never back to Green, and never to some other unmentioned
state such as Blue or Tuesday.
This also says that once the machine has transitioned to Yellow, the rules have changed: now it is only
allowed to go to Red, never to anywhere else. (This models the American traffic light. Other countries may
have different rules. Sorry for any confusion.)
Finite state machines are about telling your machine what it is and what it is not allowed to do, to prevent it
from getting into nonsensical states (like a payment that is both paid and unpaid, something my phone company
has already done to me twice.)
Chains: a->b->c;
You can save time, and add some clarity, by writing those as a chain:
Green -> Yellow -> Red -> Green;
Mixed transitions and chains: a->b->c; d->e;
You’d also want to do the stuff to Off:
Green -> Yellow -> Red -> Green;

Off -> Red;

Green -> Off;
Yellow -> Off;
Red -> Off;
Node lists: [a b c]
You could drop the redundancy to Off with a list:
Green -> Yellow -> Red -> Green;

Off -> Red;
[Green Yellow Red] -> Off;
Main Path: =>
Then it might be smart to mark the color cycle as a main path using the => operator.
This doesn’t have a lot of impact; it gets drawn differently in the visualizer, and makes the machine easier to read, and some implementations such as jssm carry more statistics for the different path types, but it does not have much of a language meaning.
Mostly this tells the reader “this is what the machine spends its time doing.”
Green => Yellow => Red => Green;

Off -> Red;
[Green Yellow Red] -> Off;
Actions: ‘name’
Then we can add 'action names', such as 'Proceed', 'Enable', and 'Disable':
Green 'Proceed' => Yellow 'Proceed' => Red 'Proceed' => Green;

Off 'Enable' -> Red;
[Green Yellow Red] 'Disable' -> Off;
This means that we can tell the light to proceed, instead of telling it to switch to Yellow specifically,
letting it handle events with internal intent, simplifying working with machines.
Forced-only paths: ~>
Next we mark the paths to Off as forced-only with ~>:
Green 'Proceed' => Yellow 'Proceed' => Red 'Proceed' => Green;

Off 'Enable' -> Red;
[Green Yellow Red] 'Disable' ~> Off;
Forced-only paths are analogous to the -f switch when formatting a drive - you want to really push and say
“yes I know there are consequences,” and make sure it can’t be followed by accident.
Turning a traffic light off seems like such a thing. 😂
Named ordered sequences: &Foo
If we wanted, we could also declare the Colors as a named ordered sequence:
&Colors: [Green Yellow Red];

Green 'Proceed' => Yellow 'Proceed' => Red 'Proceed' => Green;

Off 'Enable' -> Red;
[Green Yellow Red] 'Disable' ~> Off;
Using named sequences in transitions: &Foo -> bar;
Named ordered sequences come out as a multiplexing in arrows, like usual:
&Colors: [Green Yellow Red];

Green 'Proceed' => Yellow 'Proceed' => Red 'Proceed' => Green;

Off 'Enable' -> Red;
&Colors 'Disable' ~> Off;
Using named ordered sequences to make cycles: &Foo -> +1;
Named ordered sequences can also be used with the cycle operator +N to simplify how we describe loops.
Right now we describe the main loop as
Green 'Proceed' => Yellow 'Proceed' => Red 'Proceed' => Green;
We also name the colors
&Colors: [Green Yellow Red];
In every case, that’s First 'Proceed' => Second. First and second, if you wrap around the end
of the list, match the things in the named ordered sequence every time.
As such, you can change
&Colors: [Green Yellow Red];
Green 'Proceed' => Yellow 'Proceed' => Red 'Proceed' => Green;
to
&Colors: [Green Yellow Red];
&Colors 'Proceed' => +1;
The operator +1 is called the cycle operator, and that says “apply this transition to each state in the
named ordered set in order, and make the other end +1 steps up the list.”
When applied to Green the cycle gets Yellow as the other end, because Yellow is +1 steps up the
named ordered sequence. When applied to Yellow it gets Red, and when applied to Red it gets Green
again.
This means that we can now write the machine this way:
&Colors: [Green Yellow Red];

&Colors 'Proceed' => +1;

Off 'Enable' -> Red;
&Colors 'Disable' ~> Off;
Which is suddenly more readable when written in this order:
&Colors: [Green Yellow Red];

&Colors 'Proceed' => +1;
&Colors 'Disable' ~> Off;

Off 'Enable' -> Red;
Making machines manageable: annotations
That was a little heavy. Let’s finish this machine off then have some fun doing other things.
Let’s add some annotations, to make this more tractable as a piece of source: machine_name, machine_version,
machine_reference, machine_origin, machine_author, and machine_license.
machine_name      : "Tutorial four-state traffic light";
machine_version   : 1.0.0;
machine_origin    : "https://github.com/StoneCypher/fsl/blob/master/tutorial%20machines/four%20state%20traffic%20light.fsl";
machine_reference : "https://github.com/StoneCypher/fsl/blob/master/draft%20tutorial.md";

machine_author    : "John Haugeland <stonecypher@gmail.com>";
machine_license   : MIT;


&Colors: [Green Yellow Red];

&Colors 'Proceed' => +1;
&Colors 'Disable' ~> Off;

Off 'Enable' -> Red;
Quoted strings: “No problem”
Enough traffic lights for now.
Let’s have a little fun remaking a classic joke flowchart as a FSL machine.
Sometimes the states we want to use have spaces in them, or other letters that won’t fit our normal short
expression (which is called an atom, by the by.) If we need spaces, exclamation points, and so on, we
should switch to quoted strings.
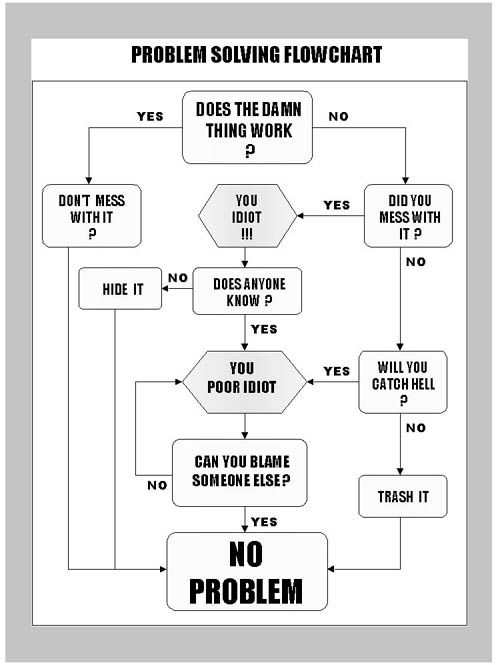
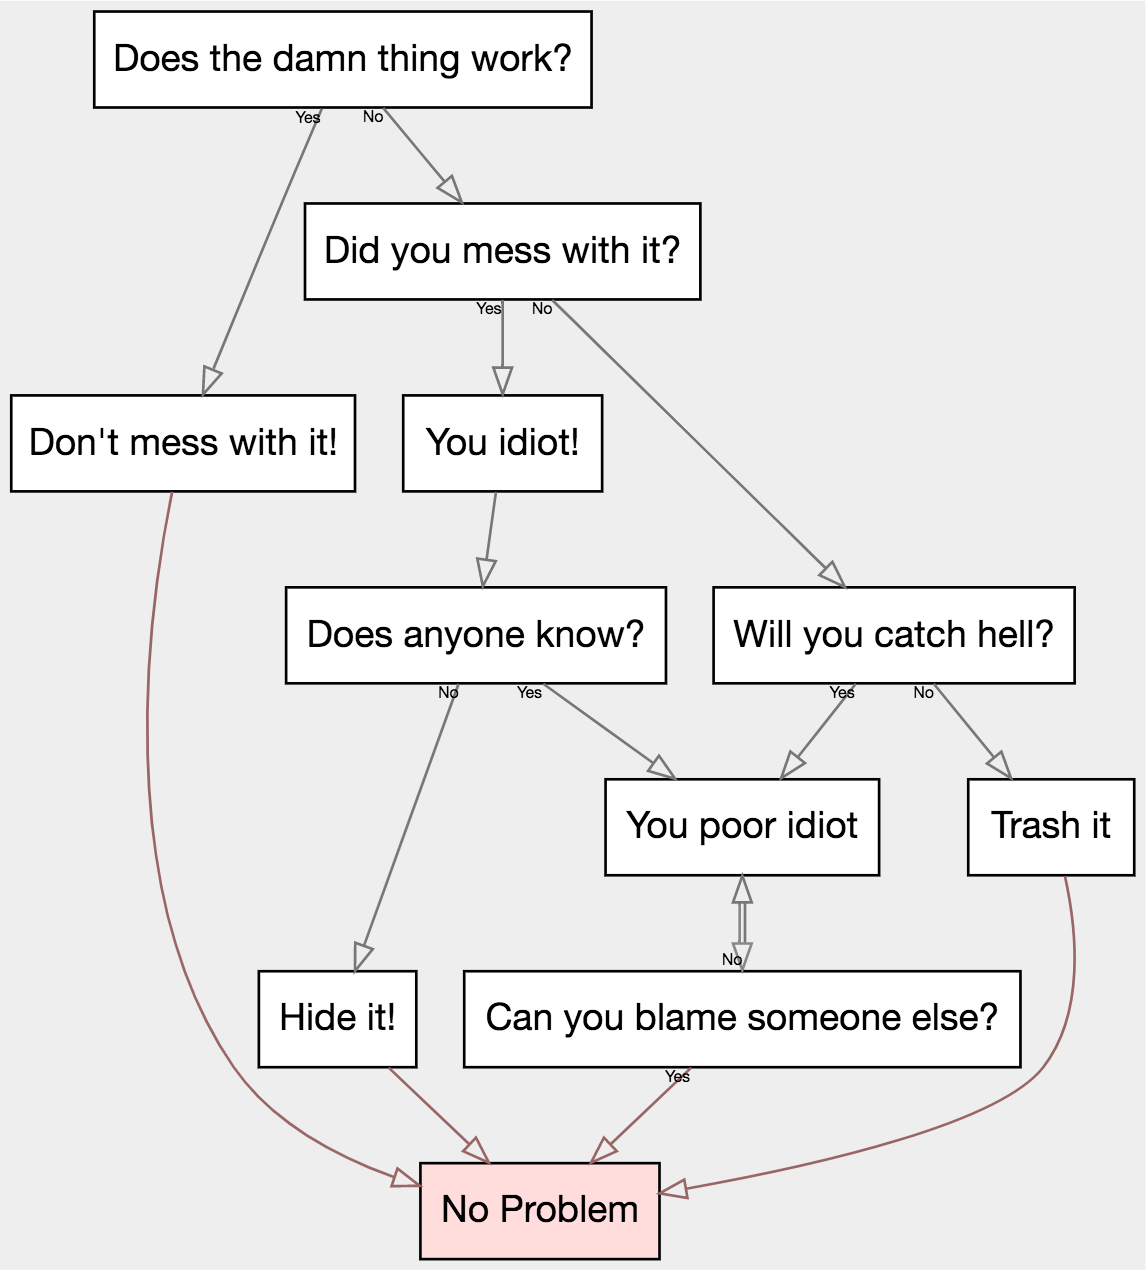
Here’s the No Problem flowchart represented as an FSL machine.
"Does the damn thing work?" 'Yes' -> "Don't mess with it!" -> "No Problem";
"Does the damn thing work?" 'No'  -> "Did you mess with it?";

"Did you mess with it?" 'No'  -> "Will you catch hell?";
"Did you mess with it?" 'Yes' -> "You idiot!";

"You idiot!" -> "Does anyone know?" 'Yes' -> "You poor idiot";
                "Does anyone know?" 'No'  -> "Hide it!" -> "No Problem";

"Will you catch hell?" 'No'  -> "Trash it" -> "No Problem";
"Will you catch hell?" 'Yes' -> "You poor idiot";

"You poor idiot" -> "Can you blame someone else?" 'Yes' -> "No Problem";
                    "Can you blame someone else?" 'No'  -> "You poor idiot";
Which renders in jssm-viz or the graph explorer as
Probabilistics: a 50% -> b
A couple quick examples. You can write a coin flip like this:
UnflippedCoin 'Flip' 50% -> Heads;
UnflippedCoin 'Flip' 50% -> Tails;
You could of course also write that
UnflippedCoin 'Flip' 50% -> [Heads Tails];
Two-way arrows: <->
You can also write multiple directions at once. Here’s the basic four states of matter:
Solid <-> Liquid <-> Gas <-> Plasma;
Which can be written with actions:
       Solid  'Heat' <->
'Cool' Liquid 'Heat' <->
'Cool' Gas    'Heat' <->
'Cool' Plasma;
Which are sometimes clearer on multiple lines:
Solid 'Heat' <->
'Cool' Liquid 'Heat' <->
'Cool' Gas 'Heat' <->
'Cool' Plasma;
Stripes: (|+1|);
If you prefer, you could write that with the stripe syntax +|N, which is a cycle that doesn’t loop at the ends.
&States: [Solid Liquid Gas Plasma];

States 'Heat' => +|1;
States 'Cool' => -|1;
And if you’re feeling froggy, you can write that
&States: [Solid Liquid Gas Plasma];

-|1 <= 'Cool' States 'Heat' => +|1;
Yes, that means that there are reverse arrows: <-
Mostly because it’d be weird if there weren’t. This is legal:
state1 -> state2 <- state3;
So is this:
state1 <- state2 -> state3;
Keep your shorts on.
Arrow types and multiple direction arrows: <~=>
You can write a transition that’s main, legal, or forced-only in one direction, and different in the other.
For example, to write a transition where it’s normal to turn something on, but a forced action to turn it off, write:
Off <~-> Running;
There are, as such, fifteen total arrows:
-> <-> <-  <-=> <-~>
=> <=> <=  <=-> <=~>
~> <~> <~  <~-> <~=>
Edge attributes: a {b: c;} -> d
There turn out to be lots of edge attributes, despite only a few on shorthand notations.
This:
UnflippedCoin 'Flip' 50% -> Heads;
is the same thing as
UnflippedCoin { action: "Flip"; probability: 50; } -> Heads;
Most of the edge attributes are not actually available as shorthands, because it’s not time to invent another APL.